
Floral Hello Card
Hello, and thank you for visiting. Today I am sharing two cards that I made for the All About Layering 3 class at Altenew Academy.
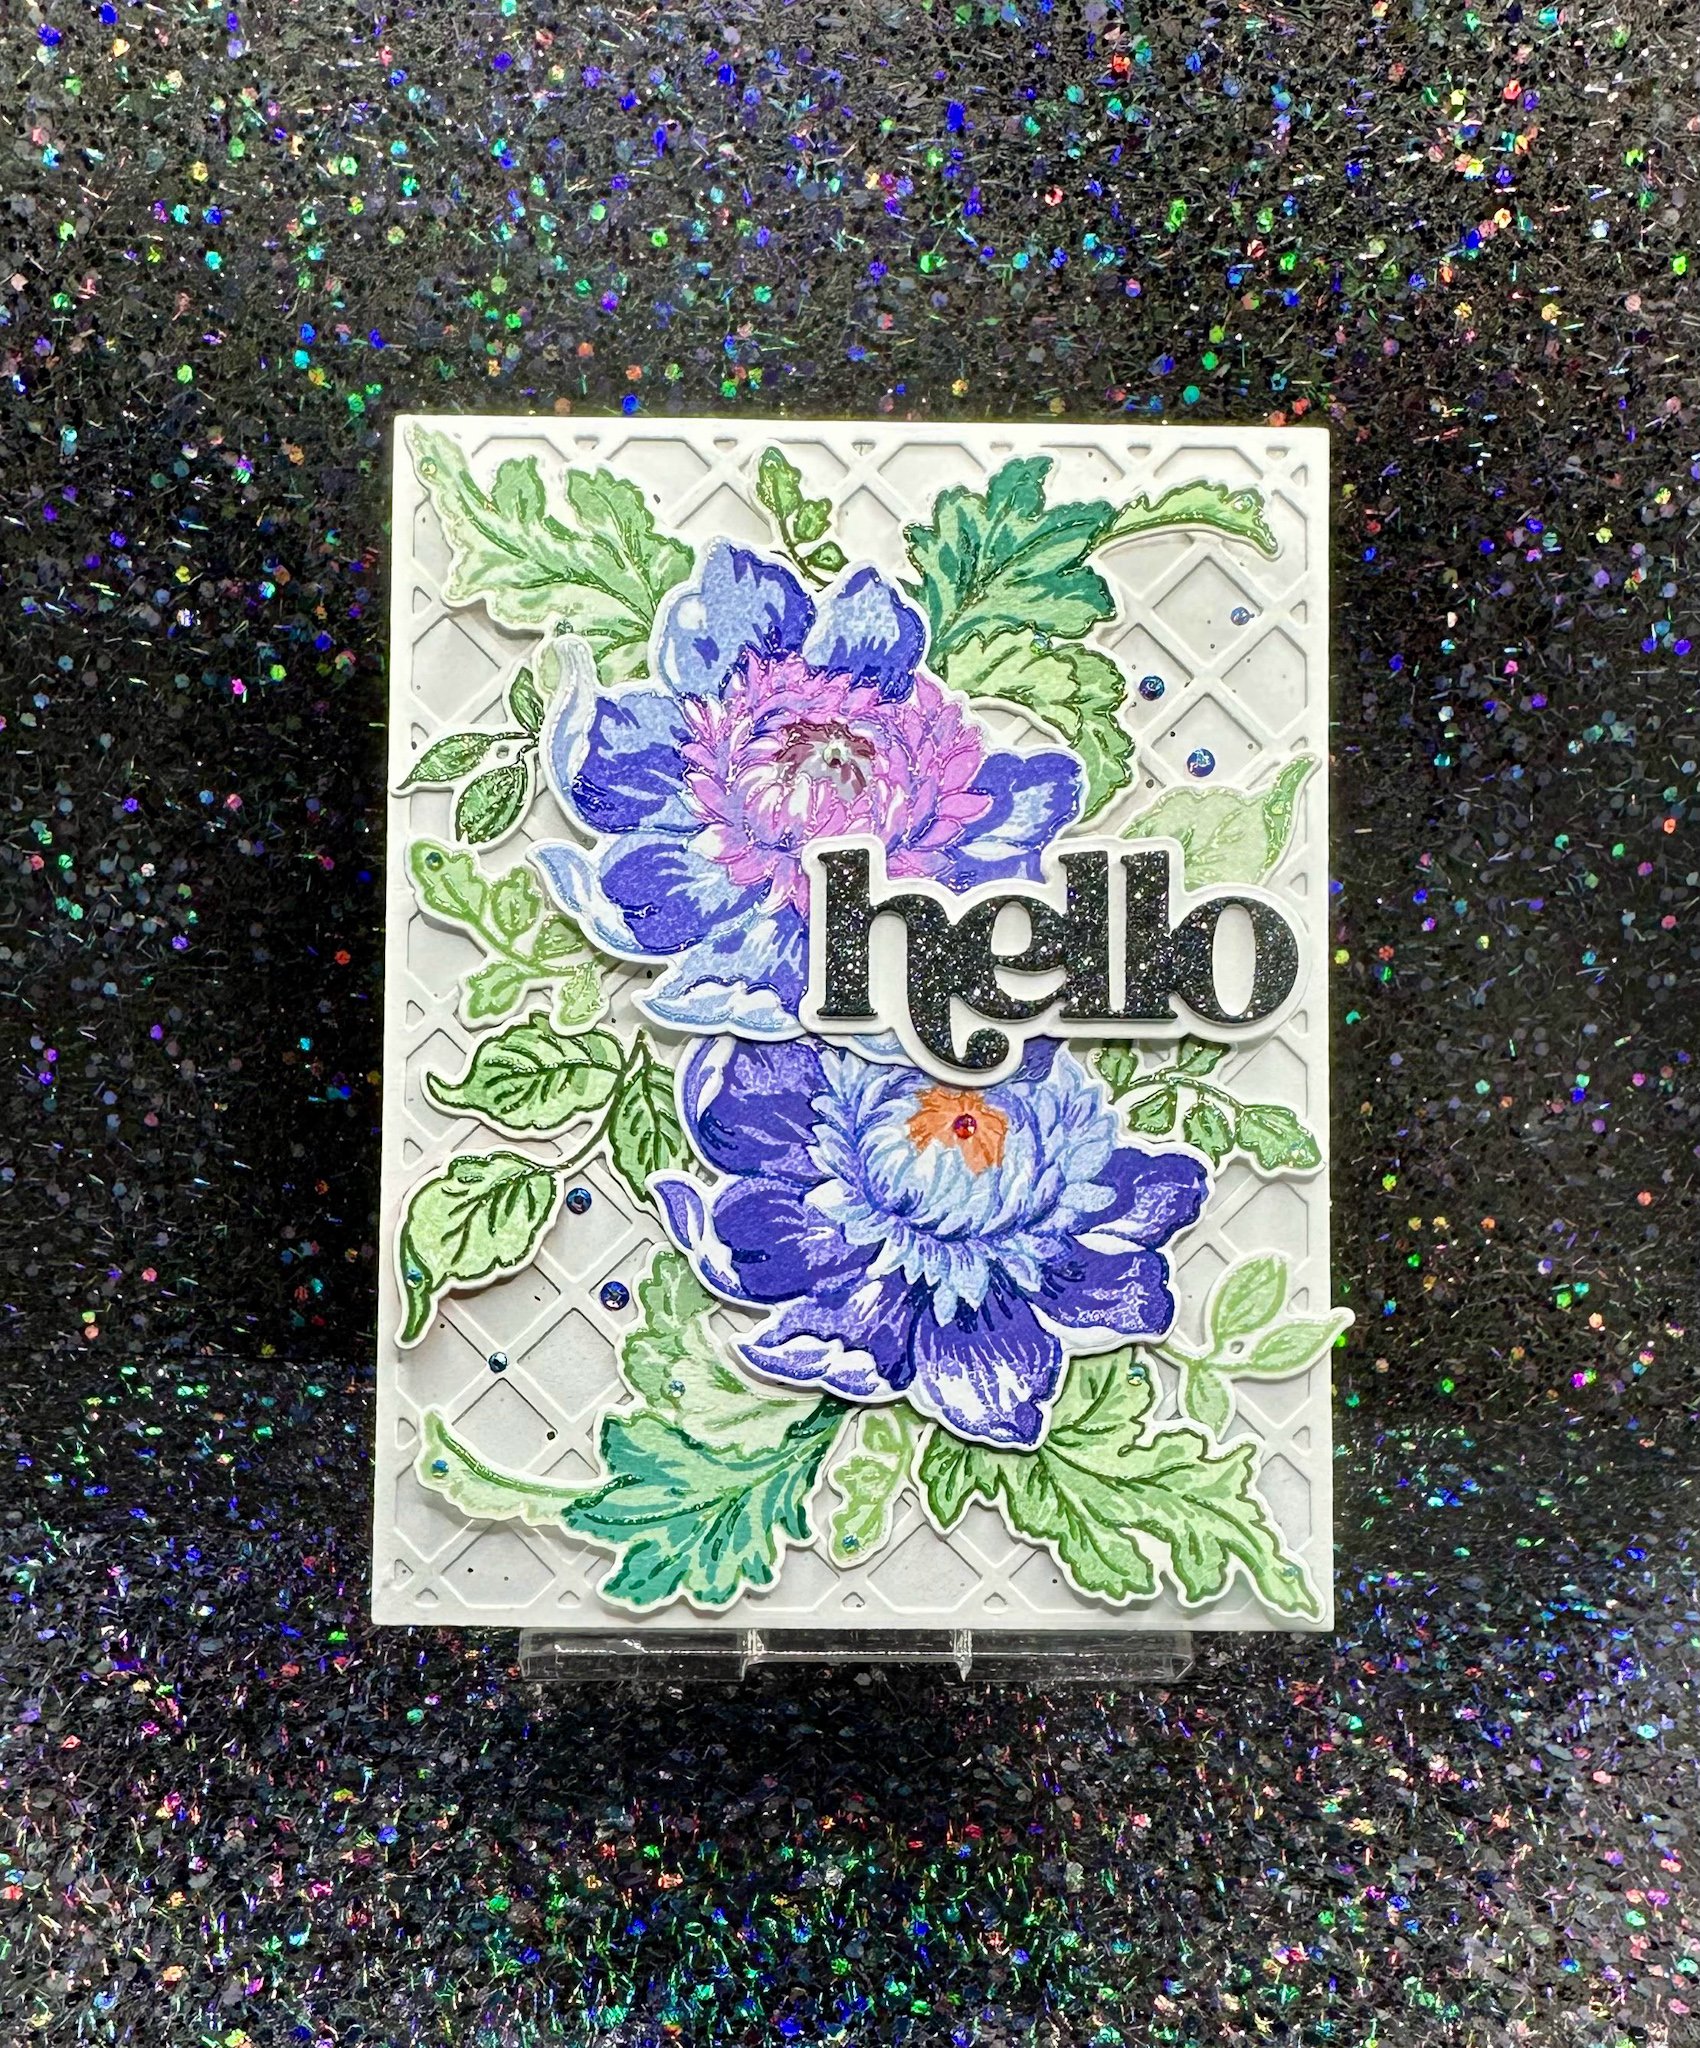
For the first card, I used the Majestic Bouquet Layering Stamp and Die Set, the Fresh Die ink bundles in Blue Mountains and Frosted Foliage, and for a background, the Garden Trellis Cover Die.
I used Neenah 110# Classic Crest Solar White for the base and Garden Trellis Die, Neenah 80# Classic Crest Solar White for the Majestic Bouquet Layering Stamp and Die set.
After finishing with the stamp layering, I placed the images back into my Misti and added an outline layer of Versamark in order to be able to add a clear sparkle embossing powder, heat set and die cut all of the images. Once they were all die cut, I played with the pieces until I found an arrangement that I liked and thought was well balanced, as was discussed in the class.

The hello sentiment is from the Timeless Sentiments Die Set, which I cut out of Black Diamond, which is a black holographic glitter cardstock from the Milky Way Glitter Cardstock Set, gluing several additional die cut hello layers of white cardstock for added dimension.

I used Glad Press’n Seal to hold the arrangement in place using the hinge method, and proceeded to glue down the base parts of the different foliage layers that would be in the middle of the card, underneath the flowers. I then added foam squares to the outsides of some of the leaf die cuts to pop them up a bit. For the flowers I added foam squares to the middle of them and affixed them to the middle of the leaf clusters.
For the embellishments I used various sized crystals in Peridot AB, Tanzanite AB, Crystal AB, and Sun AB. To pop up and give the elements some extra dimension I used double sided foam squares.
The second card that I created also used the Majestic Bouquet Layering Stamp and Die Set. The ink colors I used are the same as for the above card, this time I decided to use an embossed panel background with the Masonry Wall 3D Embossing Folder in light grey cardstock. I added Versamark ink using a brayer and then heat embossed with a clear sparkle embossing powder for added texture and dimension. I arranged the leaves in a triangle around one side of the flower to give a natural feel, as suggested in All About Layering 3.


For this card, I chose the thanks sentiment from the Sweet Expressions Die Set and cut it out of Moonstone, which is a pearly white glitter cardstock, also from the Milky Way Glitter Cardstock Set and layered it with several additional thanks die cuts from white cardstock for durability and dimension. I used foam squares to pop up the edges of the foliage and flower, along with foam strips to keep the sentiment at the same height across the flower and the embossed background panel.
